The Ultimate Resource for Local Sod Laying Services in Your Area
Picking the Right Sod for Your Lawn: Installation Guidelines and Techniques
With regards to selecting the right sod for your lawn, you must reflect on several key factors. It's not just about choosing a grass type; you must examine your climate, soil type, and sunlight exposure. Each element performs a crucial role in your lawn's health and appearance. So, how do you identify the best options for your particular situation? Let's explore the essential steps to make an informed decision.
Learning About Different Kinds of Sod for Your Turf
When selecting sod for your lawn, it's necessary to understand the different types available, as each variety offers specific benefits suited to certain climates and uses. For example, cool-season grasses like Kentucky bluegrass grow well in northern regions, providing lush, green lawns during cooler months. If you're in a warmer location, warm-season grasses like Bermuda or Zoysia work best, flourishing in the heat and establishing a durable lawn. Additionally, consider the wear tolerance of each type; some grasses handle foot traffic better than others. You may also want to think about maintenance levels—some sod varieties require more frequent mowing and watering than others. Knowing these differences will help you pick the right sod for your specific lawn needs.
How to Evaluate Sun Exposure and Shade in Your Lawn?
How can you best determine the amount of sunlight and shade your lawn receives? Begin by watching your lawn over the course of the day. Go outside for a while and notice how sunlight changes position throughout your yard. Pay attention to areas that receive direct sunlight versus those that stay shaded.
You may also utilize a simple tool like a sun calculator app to record sunlight exposure over a week. Flag the sunniest spots and areas that remain in shade, specifically during peak hours.
Additionally, check nearby trees or structures that could cast shadows. This will help you understand which sod types will thrive based on your lawn's unique sunlight and shade conditions.
Evaluating Your Weather and Soil Conditions
To choose the right sod for your lawn, you need to assess your climate and soil conditions. Start by determining your climate zone, as different grasses thrive in different temperatures and rainfall patterns. For example, warm-season grasses thrive in hot, humid areas, while cool-season grasses prefer cooler temperatures. Next, evaluate your soil type—whether it's sandy, clay, or loamy. Complete a simple soil test to check pH levels and nutrient content. This will enable you to understand what amendments your soil may require for best sod growth. Moreover, consider drainage and sun exposure, as well-drained soil and proper sunlight are crucial for practical guide healthy grass. By understanding these aspects, you'll be better prepared to select the best sod for your lawn.
Selecting Sod for Different Lawn Uses
Picking the right sod for different lawn uses depends on understanding how you intend to utilize your outdoor space. If you're building a play area for youngsters or pets, seek out durable options like Bermuda or Zoysia, which can endure heavy foot traffic. For ornamental lawns, consider refined fescue or Kentucky bluegrass, delivering a lush, visually appealing landscape. If your focus is on low maintenance, opt for drought-resistant varieties like Buffalo grass, which require less watering. For shaded areas, pick shade-tolerant species such as tall fescue or creeping red fescue. By adapting your sod choice to your lawn's purpose, you'll ensure a thriving, functional outdoor space that satisfies your specific needs and improves your enjoyment.
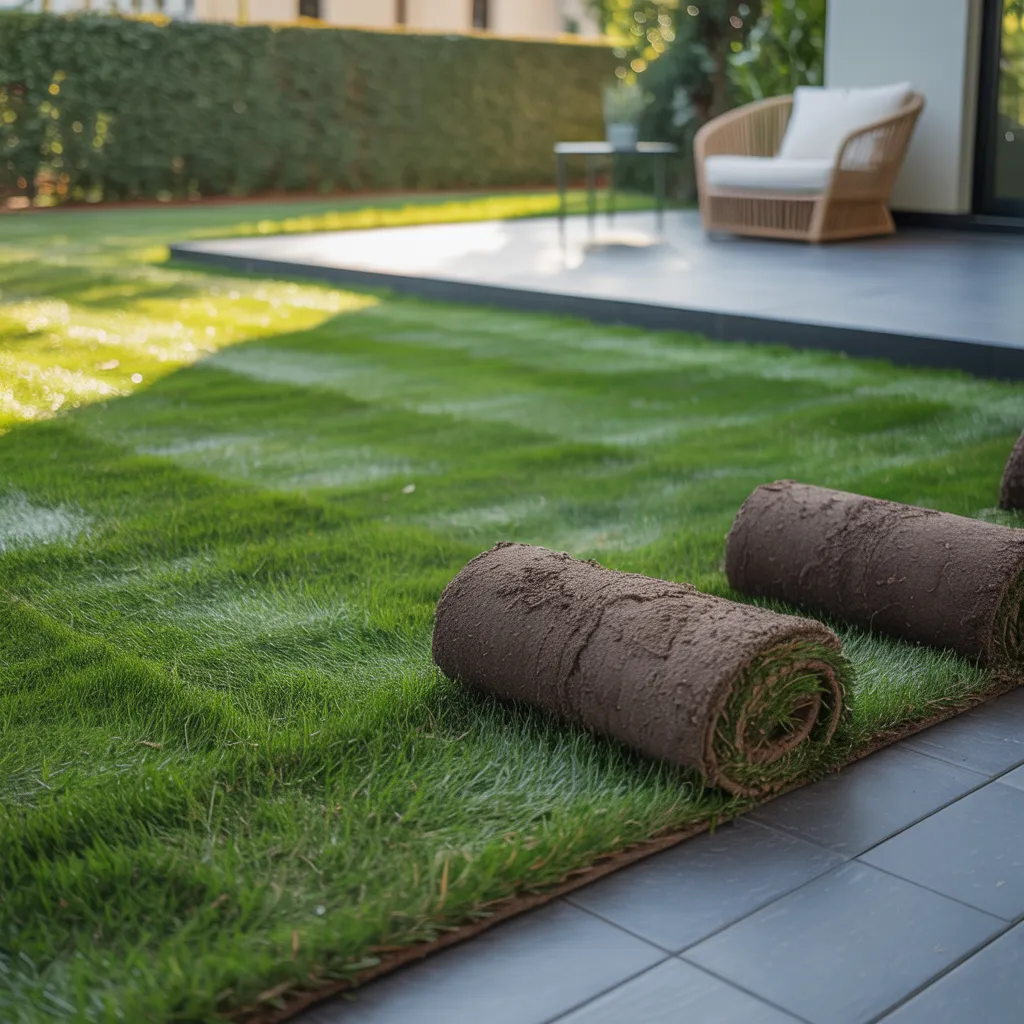
Getting Your Yard Ready for Effective Sod Installation
After choosing the right sod for your lawn's specific purpose, it's time to prepare your yard for installation. Begin by getting rid of your area of any debris, rocks, or old grass from your yard. You'll require a clean slate for ideal growth. Next, test your soil's pH and nutrient levels; this guarantees you can amend it as needed. If the soil is compacted, use aeration to facilitate root penetration. Grade the ground to avoid water pooling, and add organic matter to enhance drainage and fertility. Finally, lightly rake the surface to create a smooth bed for your sod. Correctly preparing your yard sets the stage for a healthy, lush lawn that thrives. Execute this properly, and your sod will flourish beautifully.
Recommendations for Laying and Caring for Sod
When your yard's been readied, it's important to emphasize soil preparation, appropriate watering techniques, and post-installation care. These actions will enable your new sod thrive and establish a lush lawn. Let's examine how each of these components plays a crucial role in your sod's success.
Fundamentals of Soil Preparation
Proper soil preparation is crucial for a flourishing sod installation. Start by getting rid of any debris, rocks, or weeds from the area. Then, use a rototiller to aerate the top three to four inches of soil, enabling your sod to create roots. It's important to test the soil pH and modify it accordingly to create an ideal environment for growth. Mix in organic matter like compost to improve soil structure and drainage. Smooth the surface evenly, ensuring proper grading to prevent water standing. Finally, lightly tamp the soil to remove air pockets. This strong foundation will support healthy sod growth, ensuring a vibrant, lush lawn.
Right Watering Procedures
Even though you may be anxious to witness your new sod prosper, appropriate watering practices are vital for making sure it develops strong roots. Right after installation, provide your sod with thorough watering to assist it in settling into the soil. Aim for about an inch of water daily for the first week, keeping the soil consistently moist but not soggy. Modify your watering routine according to weather patterns; if it rains, you may need to reduce watering. Following the initial week, gradually reduce watering to every other day, then weekly. Always irrigate during early morning hours or late afternoon to reduce water loss. As a final point, observe for signs of distress, like browning, and modify your watering practices as needed to preserve your sod in good condition.
Care Tips After Installation
As you establish your lawn care routine, remember that post-installation care is vital for allowing your sod flourish. Kick off by guaranteeing your new sod gets adequate water, particularly in the first few weeks. Shoot for about one inch of water per week, adjusting based on weather conditions. Refrain from mowing your sod until it's securely anchored, usually around two to three weeks after installation. Keep an eye out for pests and diseases, handling any issues quickly. Fertilizing your sod about six weeks post-installation will foster healthy growth. In conclusion, avoid walk on your new lawn until it's firmly in place; this will help stop compaction and support a lush, green yard.
Troubleshooting Standard Sod Problems Following Installation
After installing sod, you might notice some problems like uneven growth patterns or signs of pests and diseases. Such challenges can arise from inadequate watering or various factors that influence your lawn's well-being. Let's examine how to recognize and resolve these typical sod problems.
Irregular Growth Issues
If you notice uneven growth patterns in your new sod, it can be disheartening, but determining the cause is necessary for restoring a lush lawn. Start by assessing the soil moisture; sporadic watering can create patchy growth. Verify that each area receives adequate water, ideally 1-1.5 inches per week. Next, check the sunlight exposure; shaded areas may struggle compared to those in full sun. If you determine your sod is installed on uneven terrain, consider leveling the soil to promote uniform growth. Last, ensure you're using the right sod type for your climate and soil conditions. Once you've addressed these considerations, your lawn should start to even out and thrive.
Pests and Diseases
Though a thriving lawn is the goal, pests and diseases can swiftly undermine your efforts after sod installation. You should frequently inspect your new sod for evidence of trouble. Check for yellowing blades, wilting, or unusual spots, which might indicate pests like grubs or diseases such as brown patch. If you spot pests, consider using organic remedies like neem oil or insecticidal soap. For diseases, guarantee proper air circulation and avoid overcrowding. It's essential to act fast; early detection can preserve your lawn. Keep the area clean and free of debris, as this limits pest habitats. Bear in mind, a little vigilance goes a long way in preserving a healthy lawn that thrives year-round.
Water-Related Problems
Adequate watering is critical for the success of your recently installed sod, and doing it correctly can be challenging. You'll need to keep the sod consistently moist, most importantly during the first couple of weeks. Watering too frequently leads to soggy roots and mold, while underwatering can cause the sod to wither and perish. Inspect the moisture level daily; the top inch of soil should feel wet but not soaked. If you spot browning patches, it could suggest underwatering. Conversely, if the soil feels muddy, water less often. Focus on deep watering sessions, ideally in the early morning, to encourage strong root formation. Remember, adapting your watering routine based on weather conditions is crucial for maintaining a healthy lawn.
FAQ
What Is the Expected Longevity of Sod Following Installation?
Sod usually lasts around 10 to 15 years with proper maintenance. You'll need to regularly water, fertilize, and mow it to maximize its longevity and keep your lawn lush, green, and healthy.
Is Installing Sod During Winter Months Feasible?
You can't install sod during winter months effectively. Cold temperatures hinder growth and root establishment. Waiting until spring or fall is preferable when conditions favor proper sod establishment and growth.
What Tools Are Needed for Sod Installation?
You will need a shovel, rake, and a roller for leveling the soil. A sharp knife is useful for cutting the sod, while a garden hose or sprinkler provides proper watering. Don't forget gloves and knee pads for comfort!
Should You Fertilize New Sod Right Away?
Yes, you need to fertilize new sod without delay. Taking this step helps establish strong roots and encourages healthy growth. Just be certain to use a starter fertilizer created specifically for new sod to achieve the best results.
How Often Should I Water My New Sod?
Make sure to water your new sod every day for the first two weeks, keeping it consistently moist. Following this period, decrease watering frequency to every other day, modifying based on rainfall and temperature to prevent water saturation.